I've always been a fan of color-blocking in fashion. When done tastefully, it comes across as simple and chic with just the right amount of pop and liveliness in the color combination. When it comes to makeup looks, however, it can be a bit more difficult to master, especially for neutral-lovers such as myself, but I thought it would be fun to put together an easy and wearable color-blocking look, using all affordable drugstore products from Walgreens, that would be perfect for dabbling in a potential fall makeup trend.
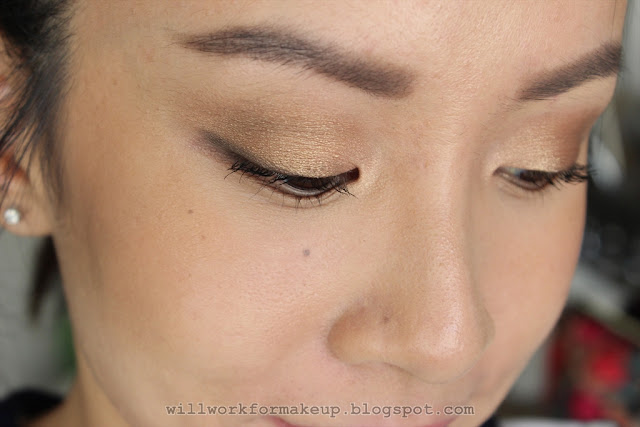
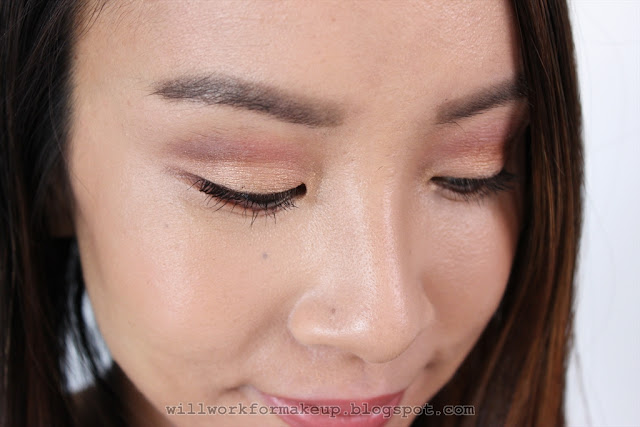
As with color-blocking in fashion, I like it best when it focuses on classic techniques, with the colors bringing the fun aspect. I wanted to focus my look on a sleek, sparkling sapphire winged liner, and I used pinky-coral tones to color-block. The gorgeous liner is Circa Vivid Vinyl Eye Lining Fluid in Blue Topaz. It's in between a sapphire and a navy, and it's beautiful. The longer brush applicator takes a bit of practice due to its flimsier nature, but I got the hang of it pretty quickly. It helps to lay down the brush horizontally and drag it along the lash line to place the pigment down, rather than attempt to draw a line. In terms of longevity, it lasted all day without budging, while still washing off easily.
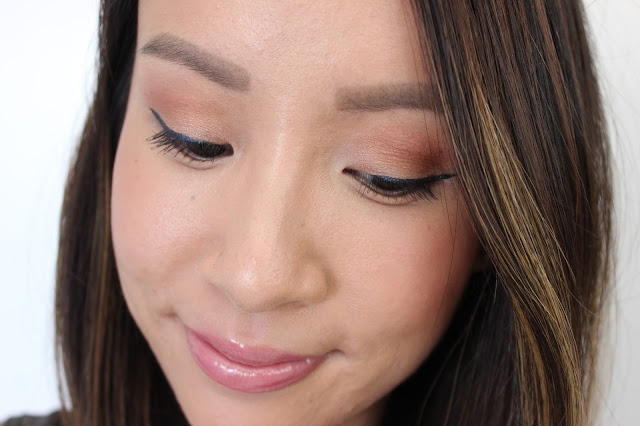
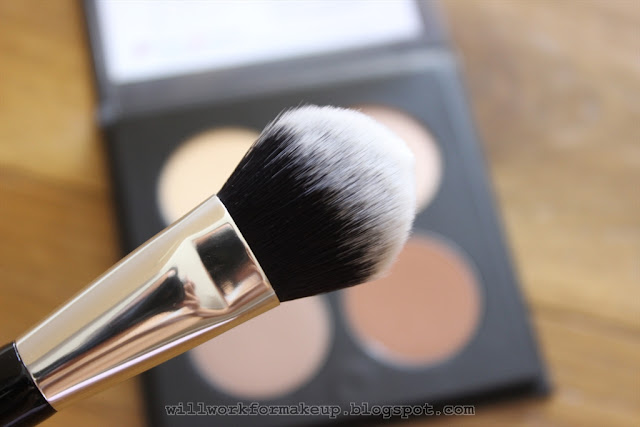
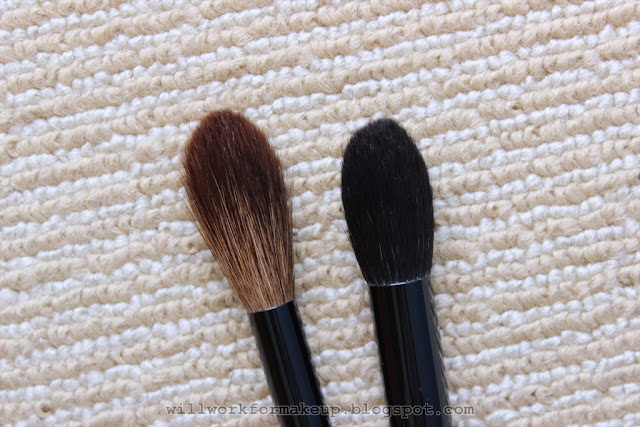
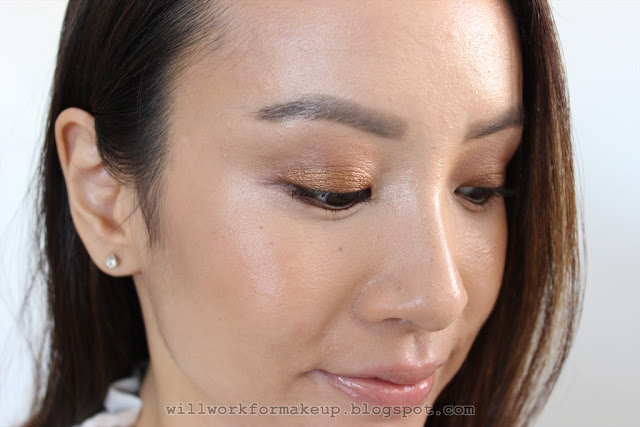
For the pinky-coral tones to offset the blue, I first swirled my brush in all the shades of the No7 Perfectly Bronzed Mosaic Bronzer and used a healthy dose of it to warm up my complexion before dipping a smaller blush brush into the pink and coral sections and applying it to the apples of my cheeks. On my eyes, I used the Circa Color Saturated Eye Crayon in Sparkling Citrine as a neutral, subtle champagne base and dusted some of the brown shades from the bronzer into my crease and blended a touch of the coral above my crease for a subtle flush of color. I tend to gravitate toward warmer tone on my eyes, so I quite like how it turned out. I brushed through my lashes with the No7 Lash Impact Intense Volume Control Mascara, but unfortunately, it wasn't quite volumizing enough for me, because I have incredibly sparse lashes. However, it still offers good separation, adds some volume, is buildable without getting clumpy and doesn't smudge.
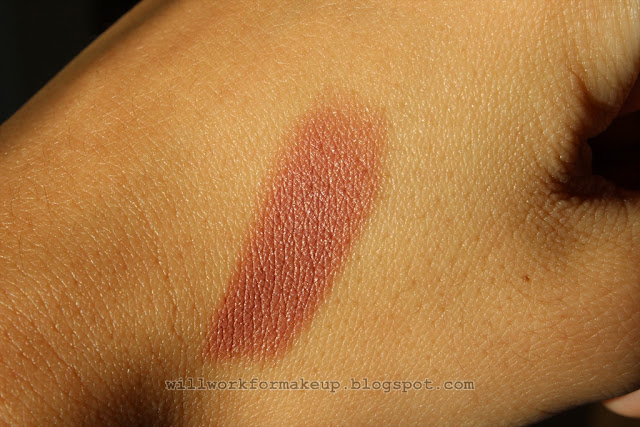
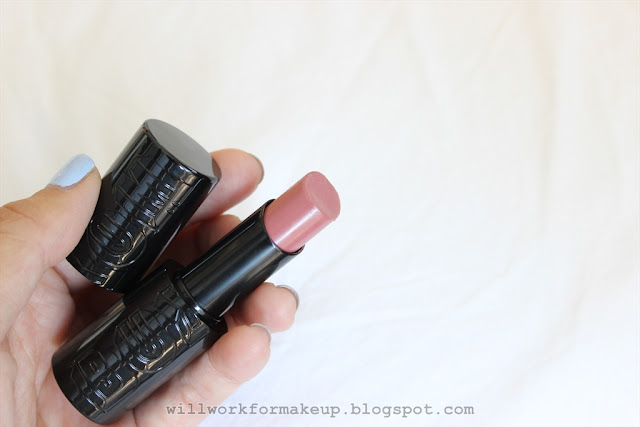
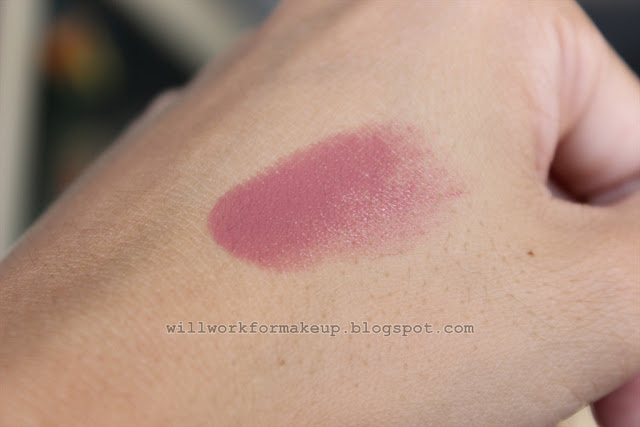
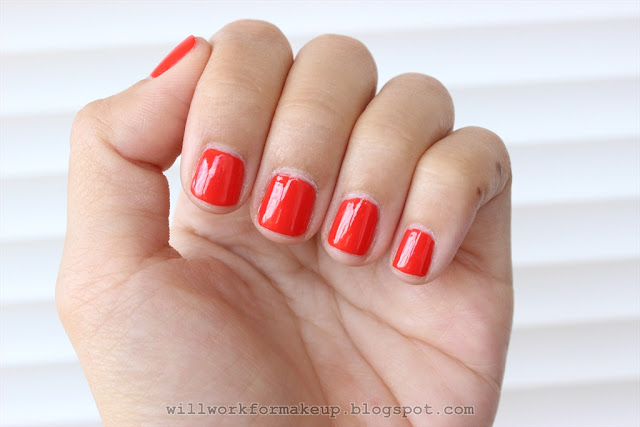
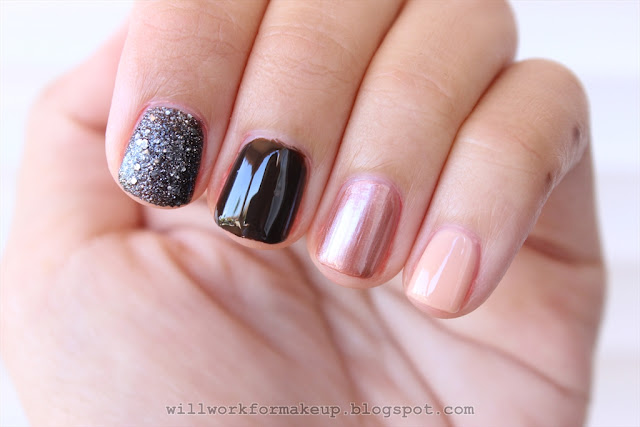
To finish off, I applied Essie Come Here!, a bright coral creme, on my nails and Circa Lustrous Shine Lip Polish in Satin Blush on my lips. Come Here! has been a summer favorite of mine for the past two years and counting, and Satin Blush is a shimmery petal pink that would suit just about anyone. It has a feminine, floral scent, and the formula is cushiony, is non-sticky and offers medium pigmentation. I love the longer doe-foot applicator, too.
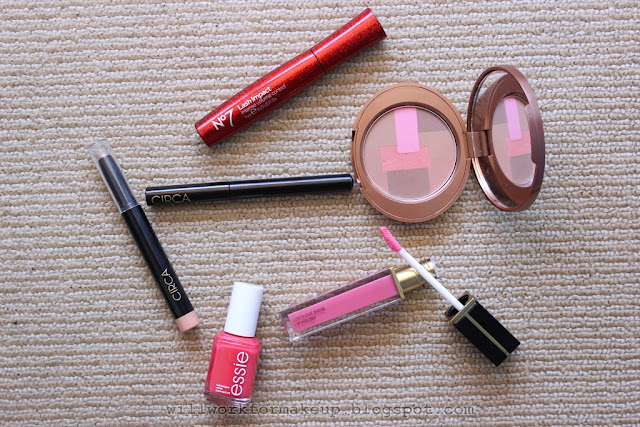
Circa Vivid Vinyl Eye Lining Fluid in Blue Topaz

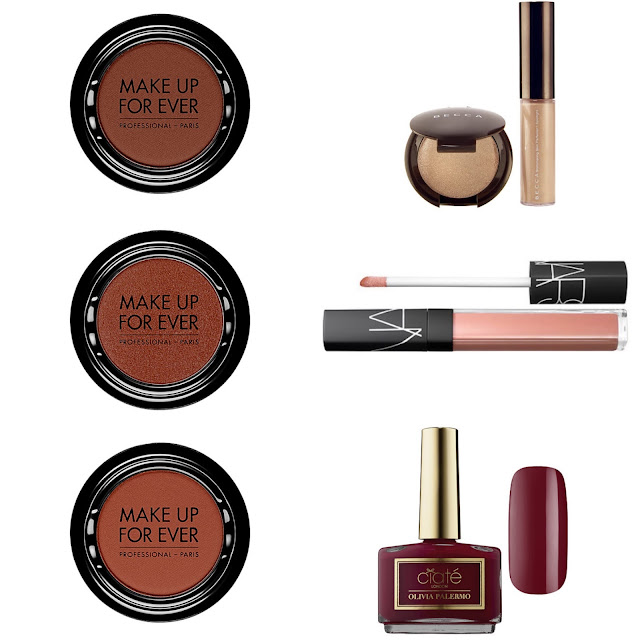
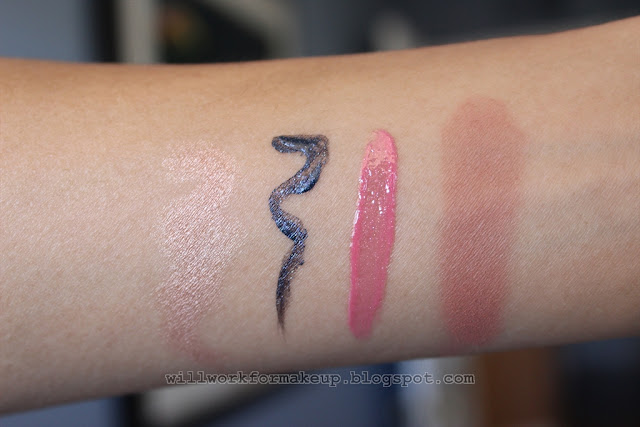
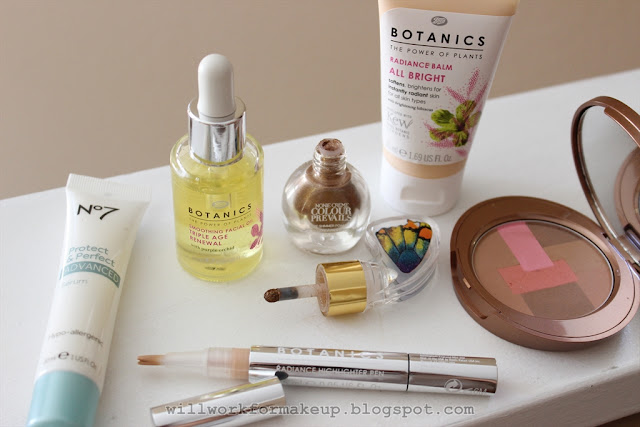
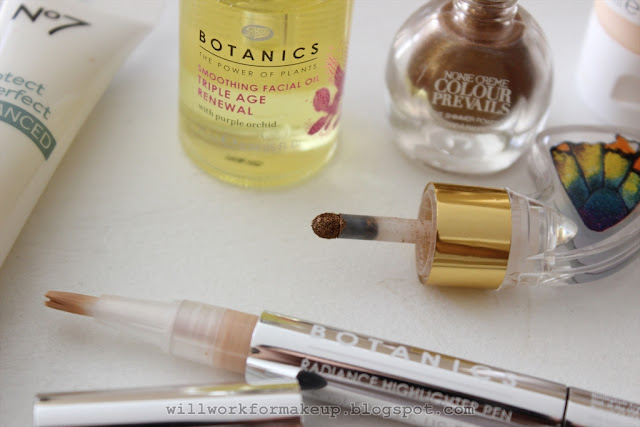
L to R: Circa Color Saturated Eye Crayon in Sparkling Citrine, Circa Vivid Vinyl Eye Lining Fluid in Blue Topaz, Circa Lustrous Shine Lip Polish in Satin Blush, No7 Perfectly Bronzed Mosaic Bronzer

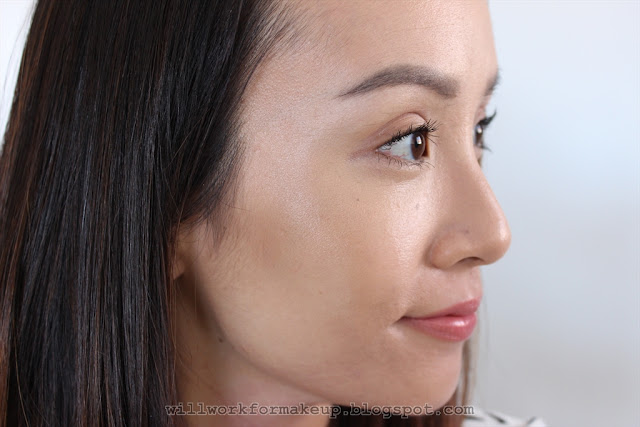
Despite incorporating a trend that could be striking and over-the-top, especially when executed on the runways, my look turned out subtle and wearable, which is perfect for me. The focus is definitely on the clean, sapphire winged liner, but the flushes of coral really brighten it up and make it more fun, too.
This was my first experience with Circa products, and I have to say I'm impressed. The liner is beautiful, the eye crayon is blendable and long-wearing and the lip gloss feels moisturizing and plush on the lips.
;%20cursor:%20pointer;%20font-family:%20arial,%20sans,%20sans-serif;%20text-align:%20left;%20white-space:%20pre-wrap;%20background-color:%20rgb(255,%20255,%20255);%22>http://ad.doubleclick.net/N5485/ad/sugar.pop/track;adv=WalgreenFashionBSO2015;sz=1x1;</a><span%20style=%22font-family:%20arial,%20sans,%20sans-serif;%20line-height:%2021.2999992370605px;%20text-align:%20left;%20white-space:%20pre-wrap;%20background-color:%20rgb(255,%20255,%20255);%22>?)
Disclosure: This post was sponsored by Walgreens through their partnership with POPSUGAR Select. While I was compensated to write a post about Walgreens Beauty, all opinions are my own.


;%22>http://ad.doubleclick.net/N5485/ad/sugar.pop/track;adv=WalgreenFashionBSO2015;sz=1x1;</a><span%20style=%22font-family:%20arial,%20sans,%20sans-serif;%20font-size:%2012.8px;%20text-align:%20left;%20white-space:%20pre-wrap;%20background-color:%20rgb(255,%20255,%20255);%22>?)